How To Make A Cobblemon Server In 2026
Why Create Your Own Cobblemon Server?
Playing Cobblemon with friends is one of the best ways to experience this amazing Pokemon mod for Minecraft. Creating your own server gives you complete control over your world, allows you to customize it with your favorite mods, and ensures you and your friends can play together whenever you want. The best part? Setting up a Cobblemon server is easier than you might think, and when you split the cost between players, it's incredibly affordable—often just $1-2 per person per month!
Choosing Your Server Hosting Platform
When it comes to hosting your Cobblemon server, you have several great options. I personally recommend Vyper Hosting because it offers the best value for your money. They provide excellent performance, easy-to-use control panels, and great customer support. You can also use other server hosting platforms like Apex Hosting, but in my opinion, Vyper Hosting gives you the most bang for your buck by far.
Video Guide
Here's a video guide if you prefer watching to reading. Watch the full video walkthrough above for step-by-step instructions on setting up your Cobblemon server.
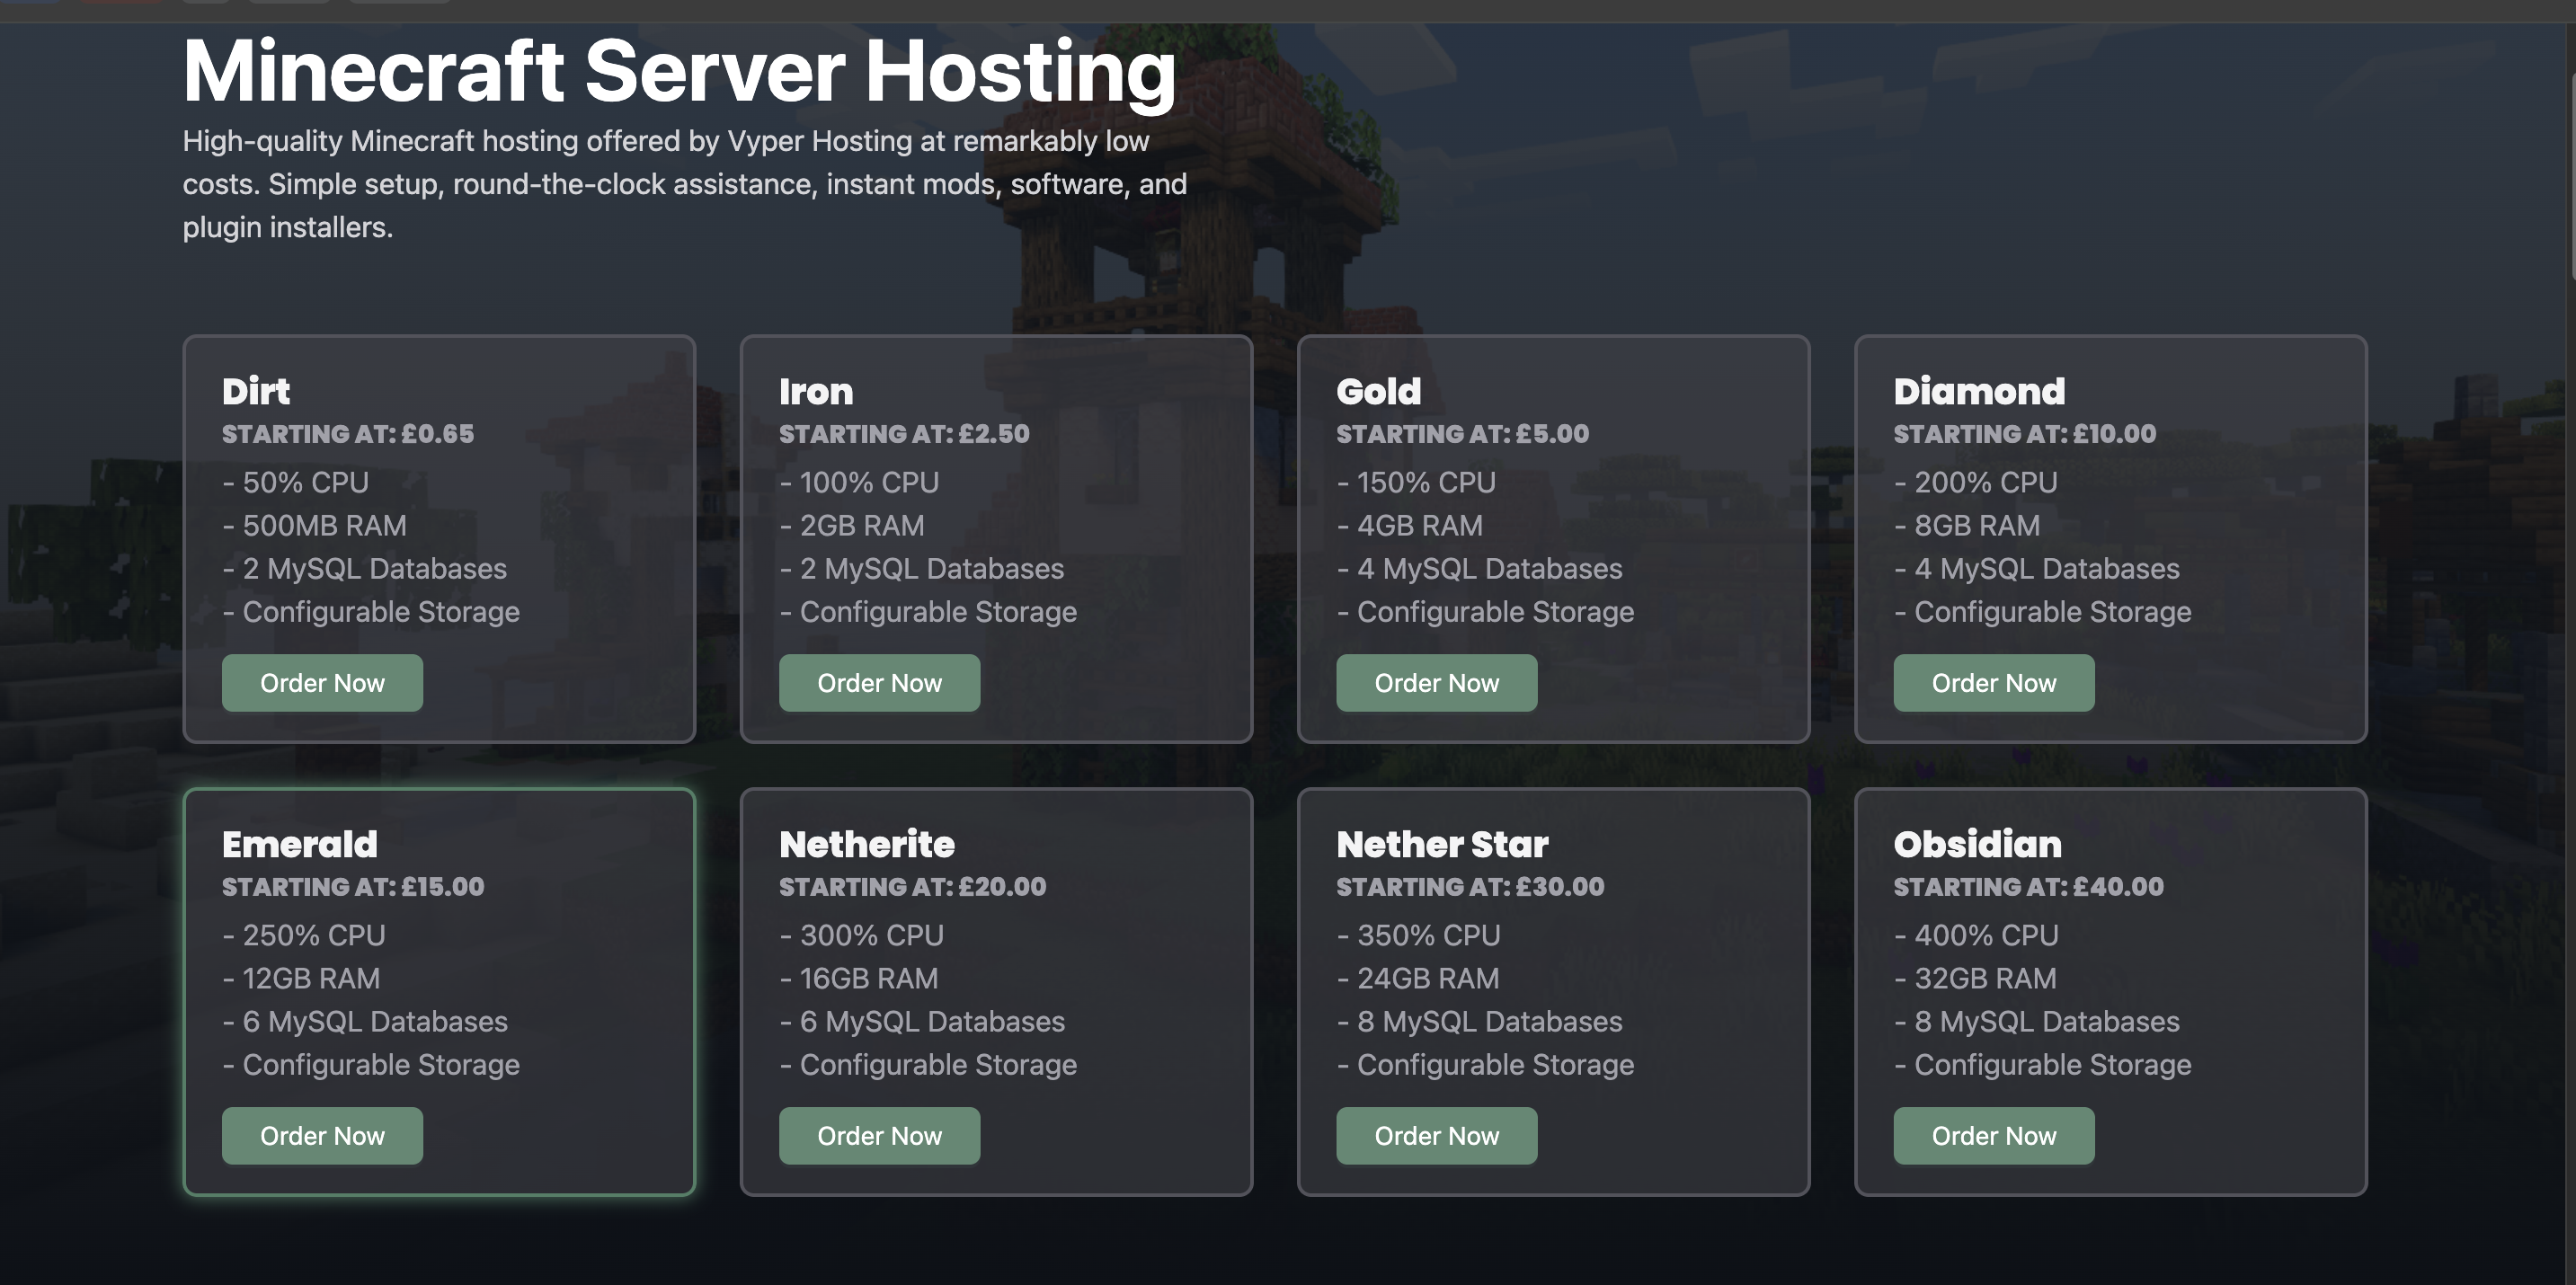
Step 1: Pick Your Server Option
Once you've chosen your hosting platform, you'll need to select a server plan that fits your needs. For normal modding, the Gold plan works well for 3-5 players, while the Diamond plan is perfect for 5-8 players. If you plan to do heavy modding with lots of additional mods, you may want to move up a tier to ensure smooth performance.
Remember, when you split the monthly cost between all your friends, it typically comes out to just $1-2 per person per month—less than a cup of coffee!
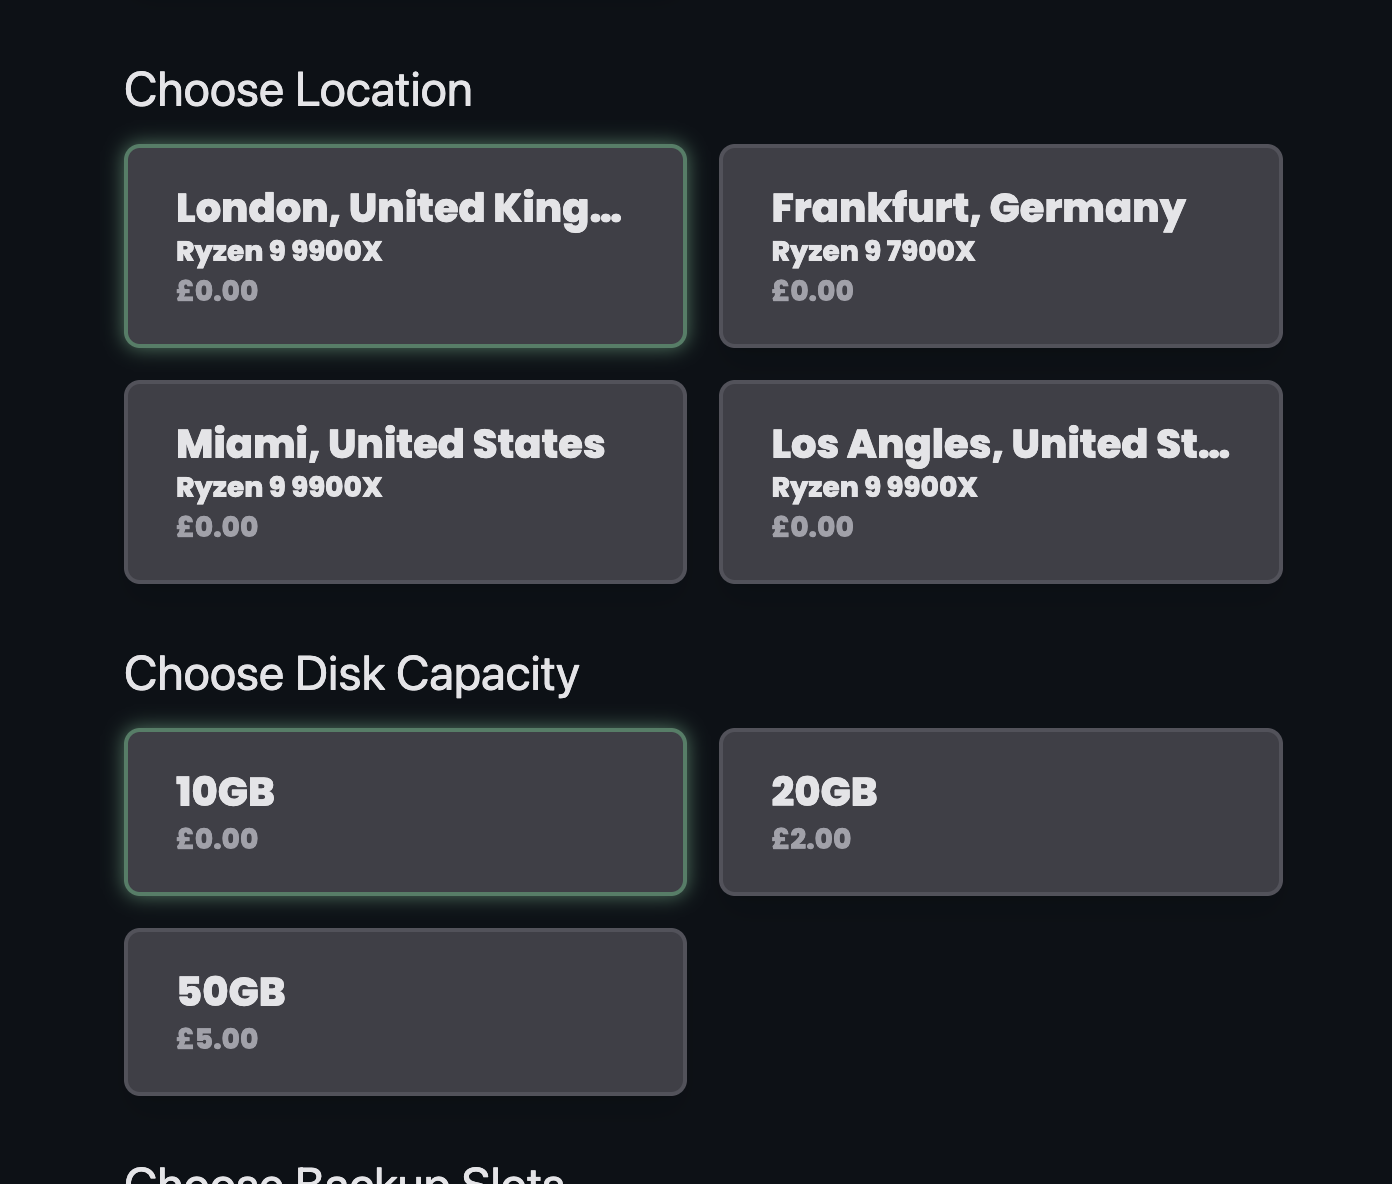
Step 2: Enter Your Server Details
During checkout, you'll need to enter your server details and pick your location. Choose the location that's closest to you, but don't worry if it's still pretty far away—it shouldn't cause any issues. My server is hosted in Miami, and I live incredibly far from Miami, but I've never experienced any lag or connection problems. Modern server hosting technology makes distance much less of a concern than it used to be.
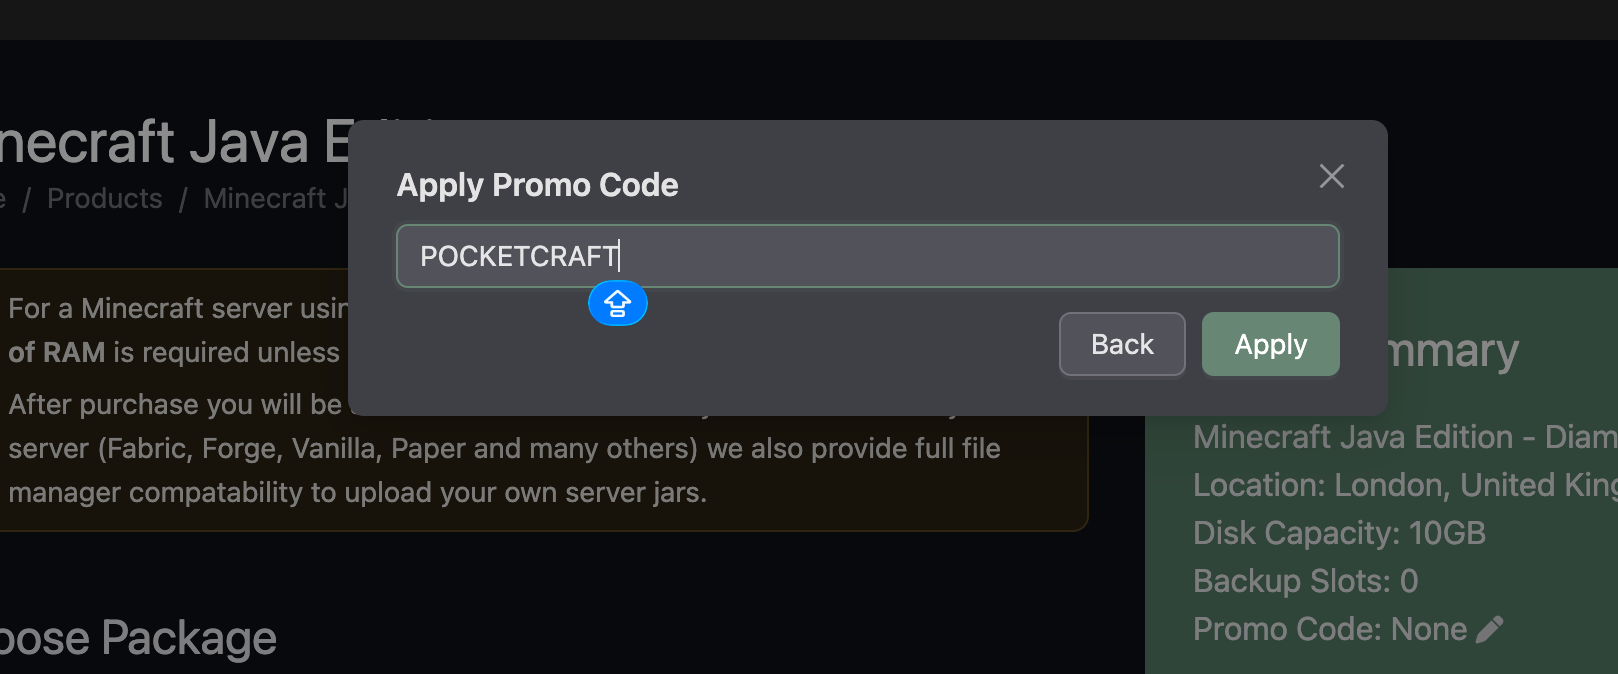
Step 3: Checkout and Use Promo Code
When you're ready to checkout, make sure to enter the promo code: POCKETCRAFT for 20% off your first month! This is a great way to save some money while you're getting started. Every little bit helps, especially when you're setting up a server for the first time.
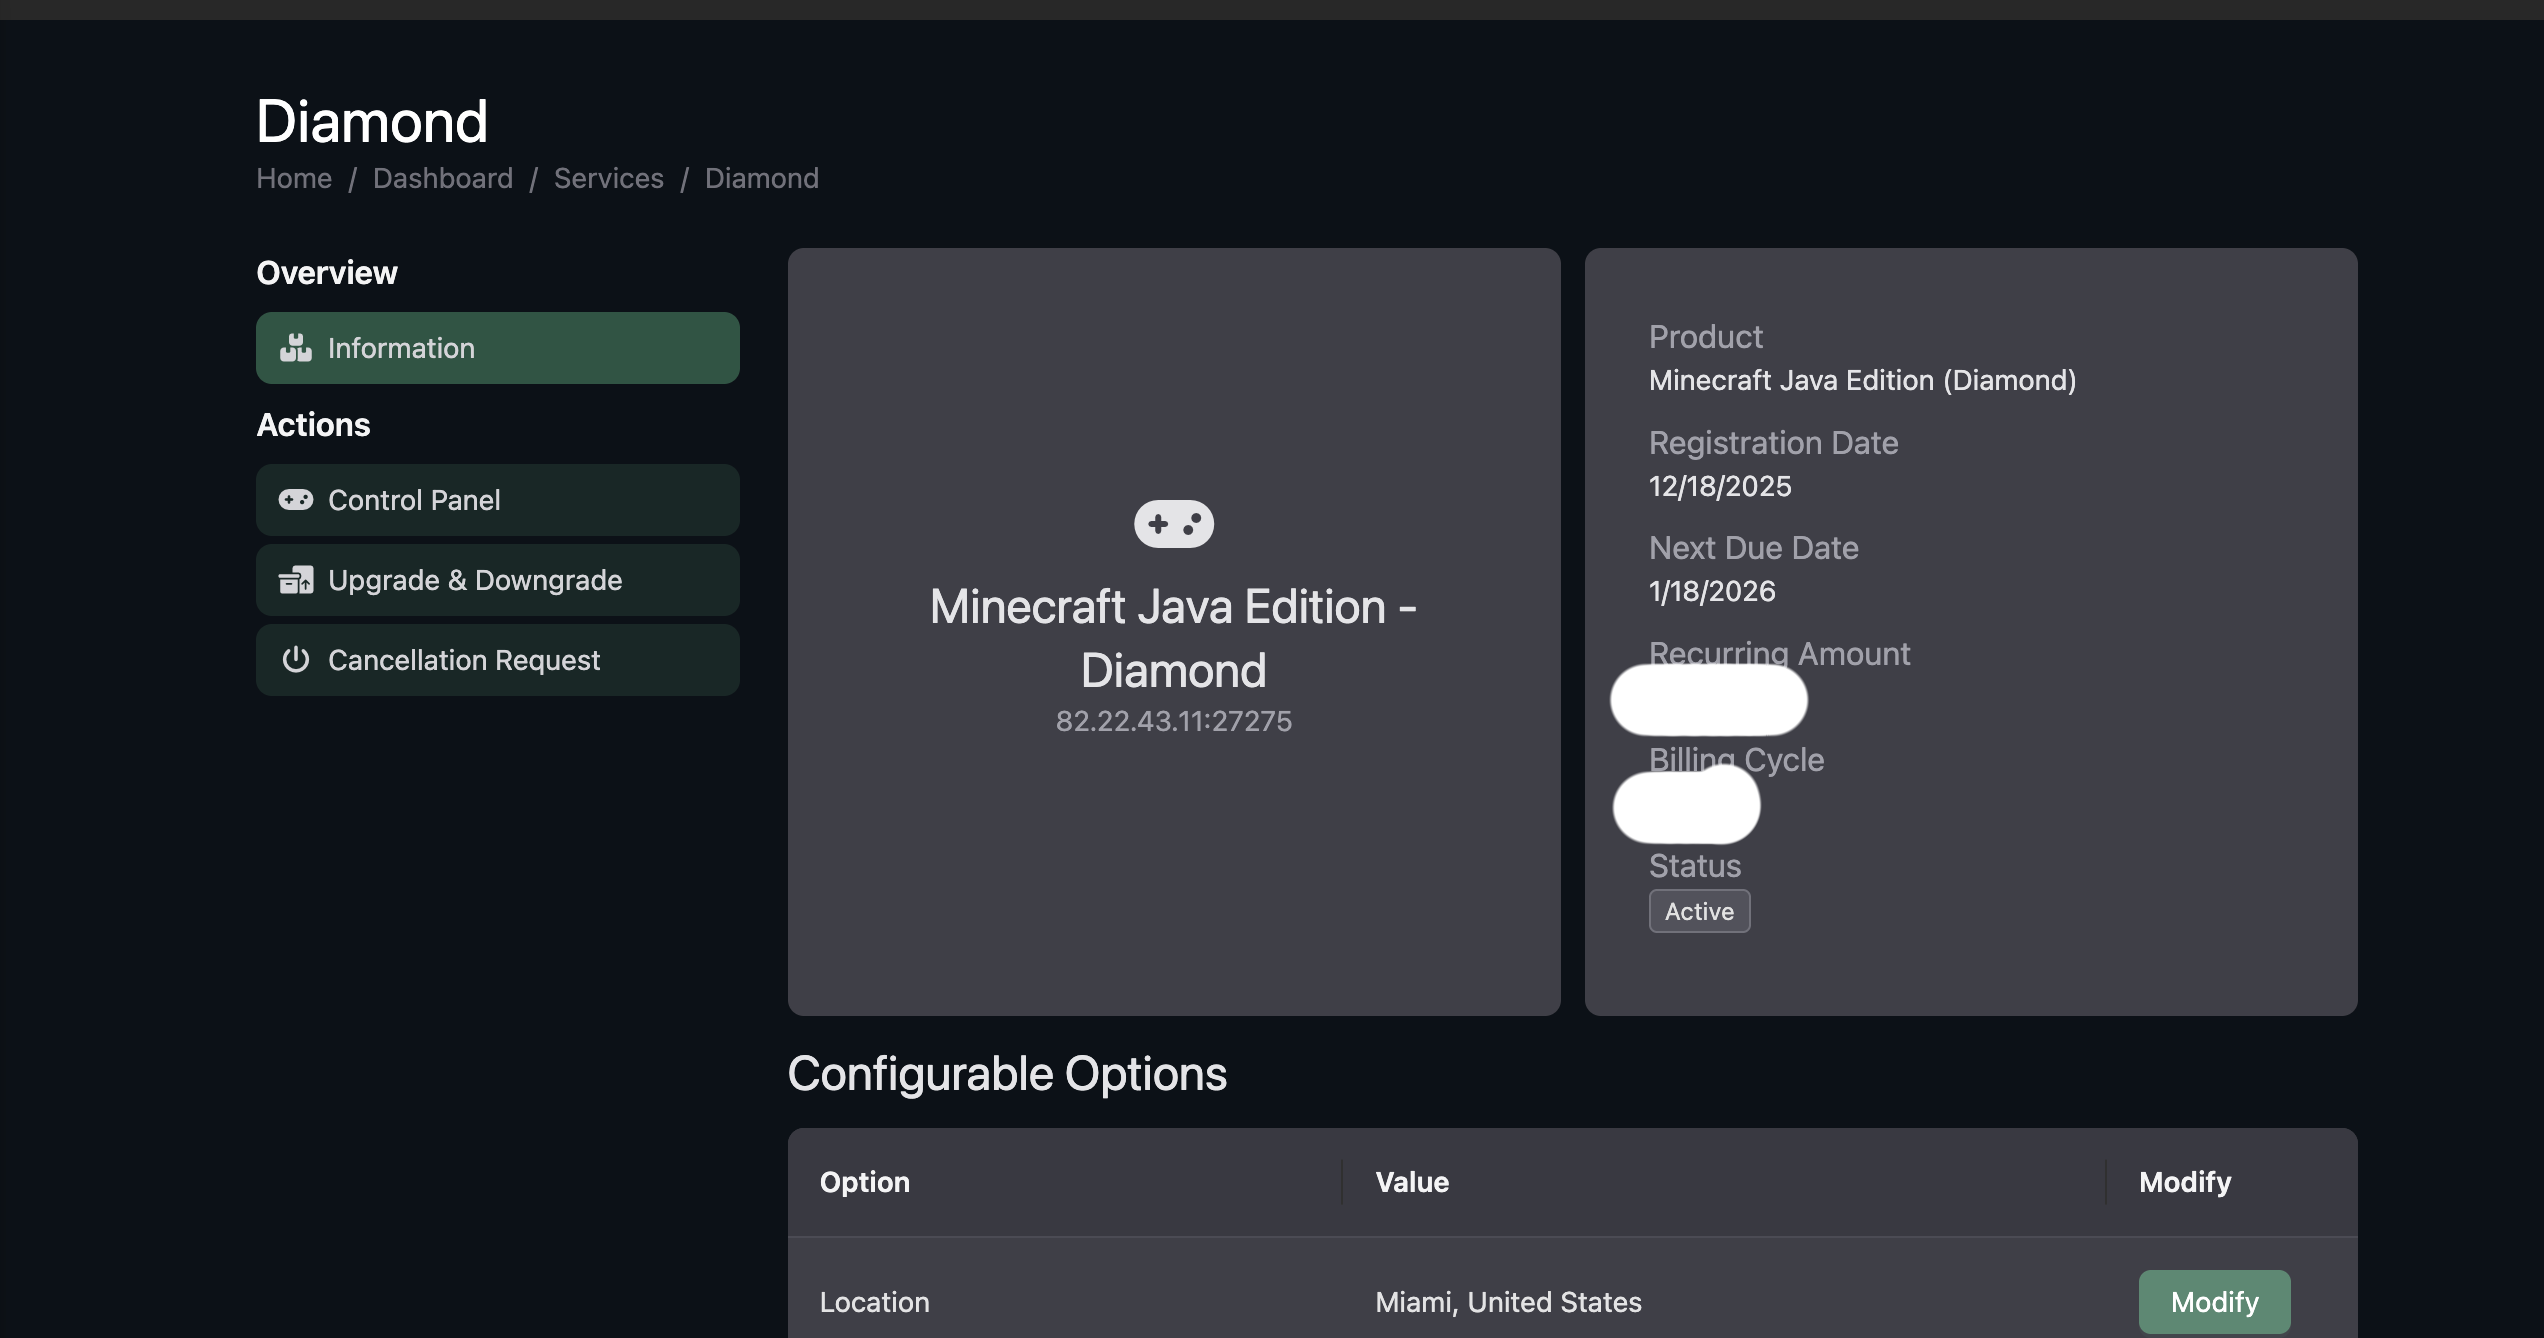
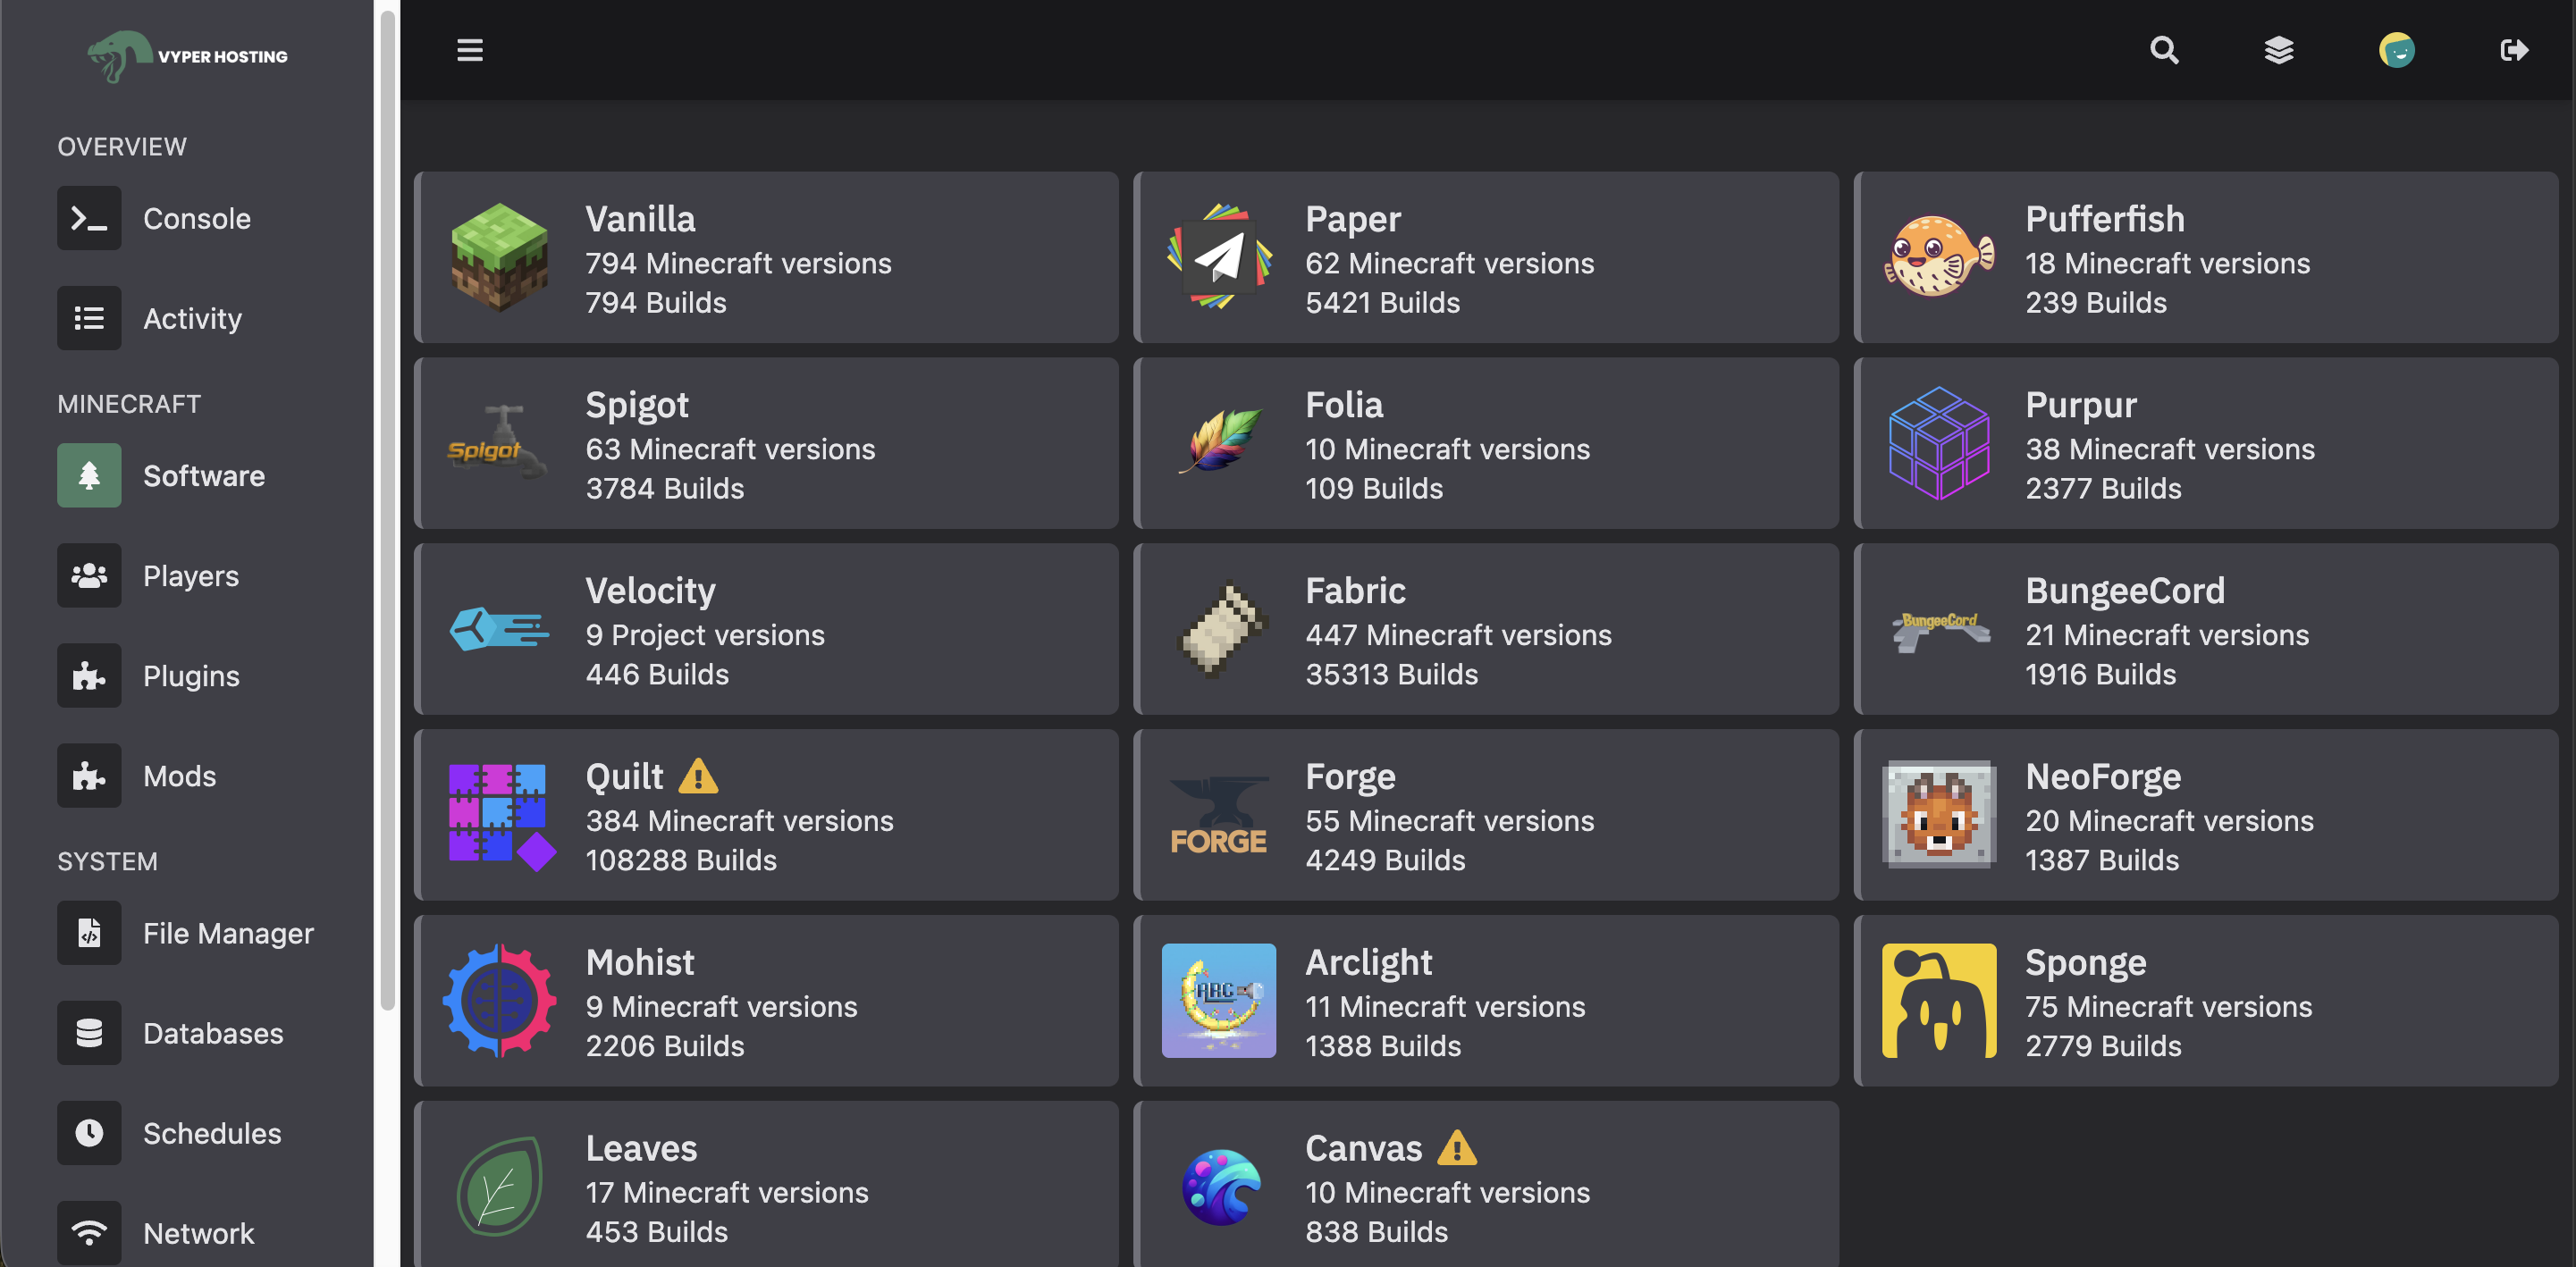
Step 4: Access Your Server Control Panel
After completing your purchase, you'll be taken to your server's control panel. This is your command center where you'll manage everything about your server. Click on your server to get started with the setup process.
Step 5: Install Fabric Mod Loader
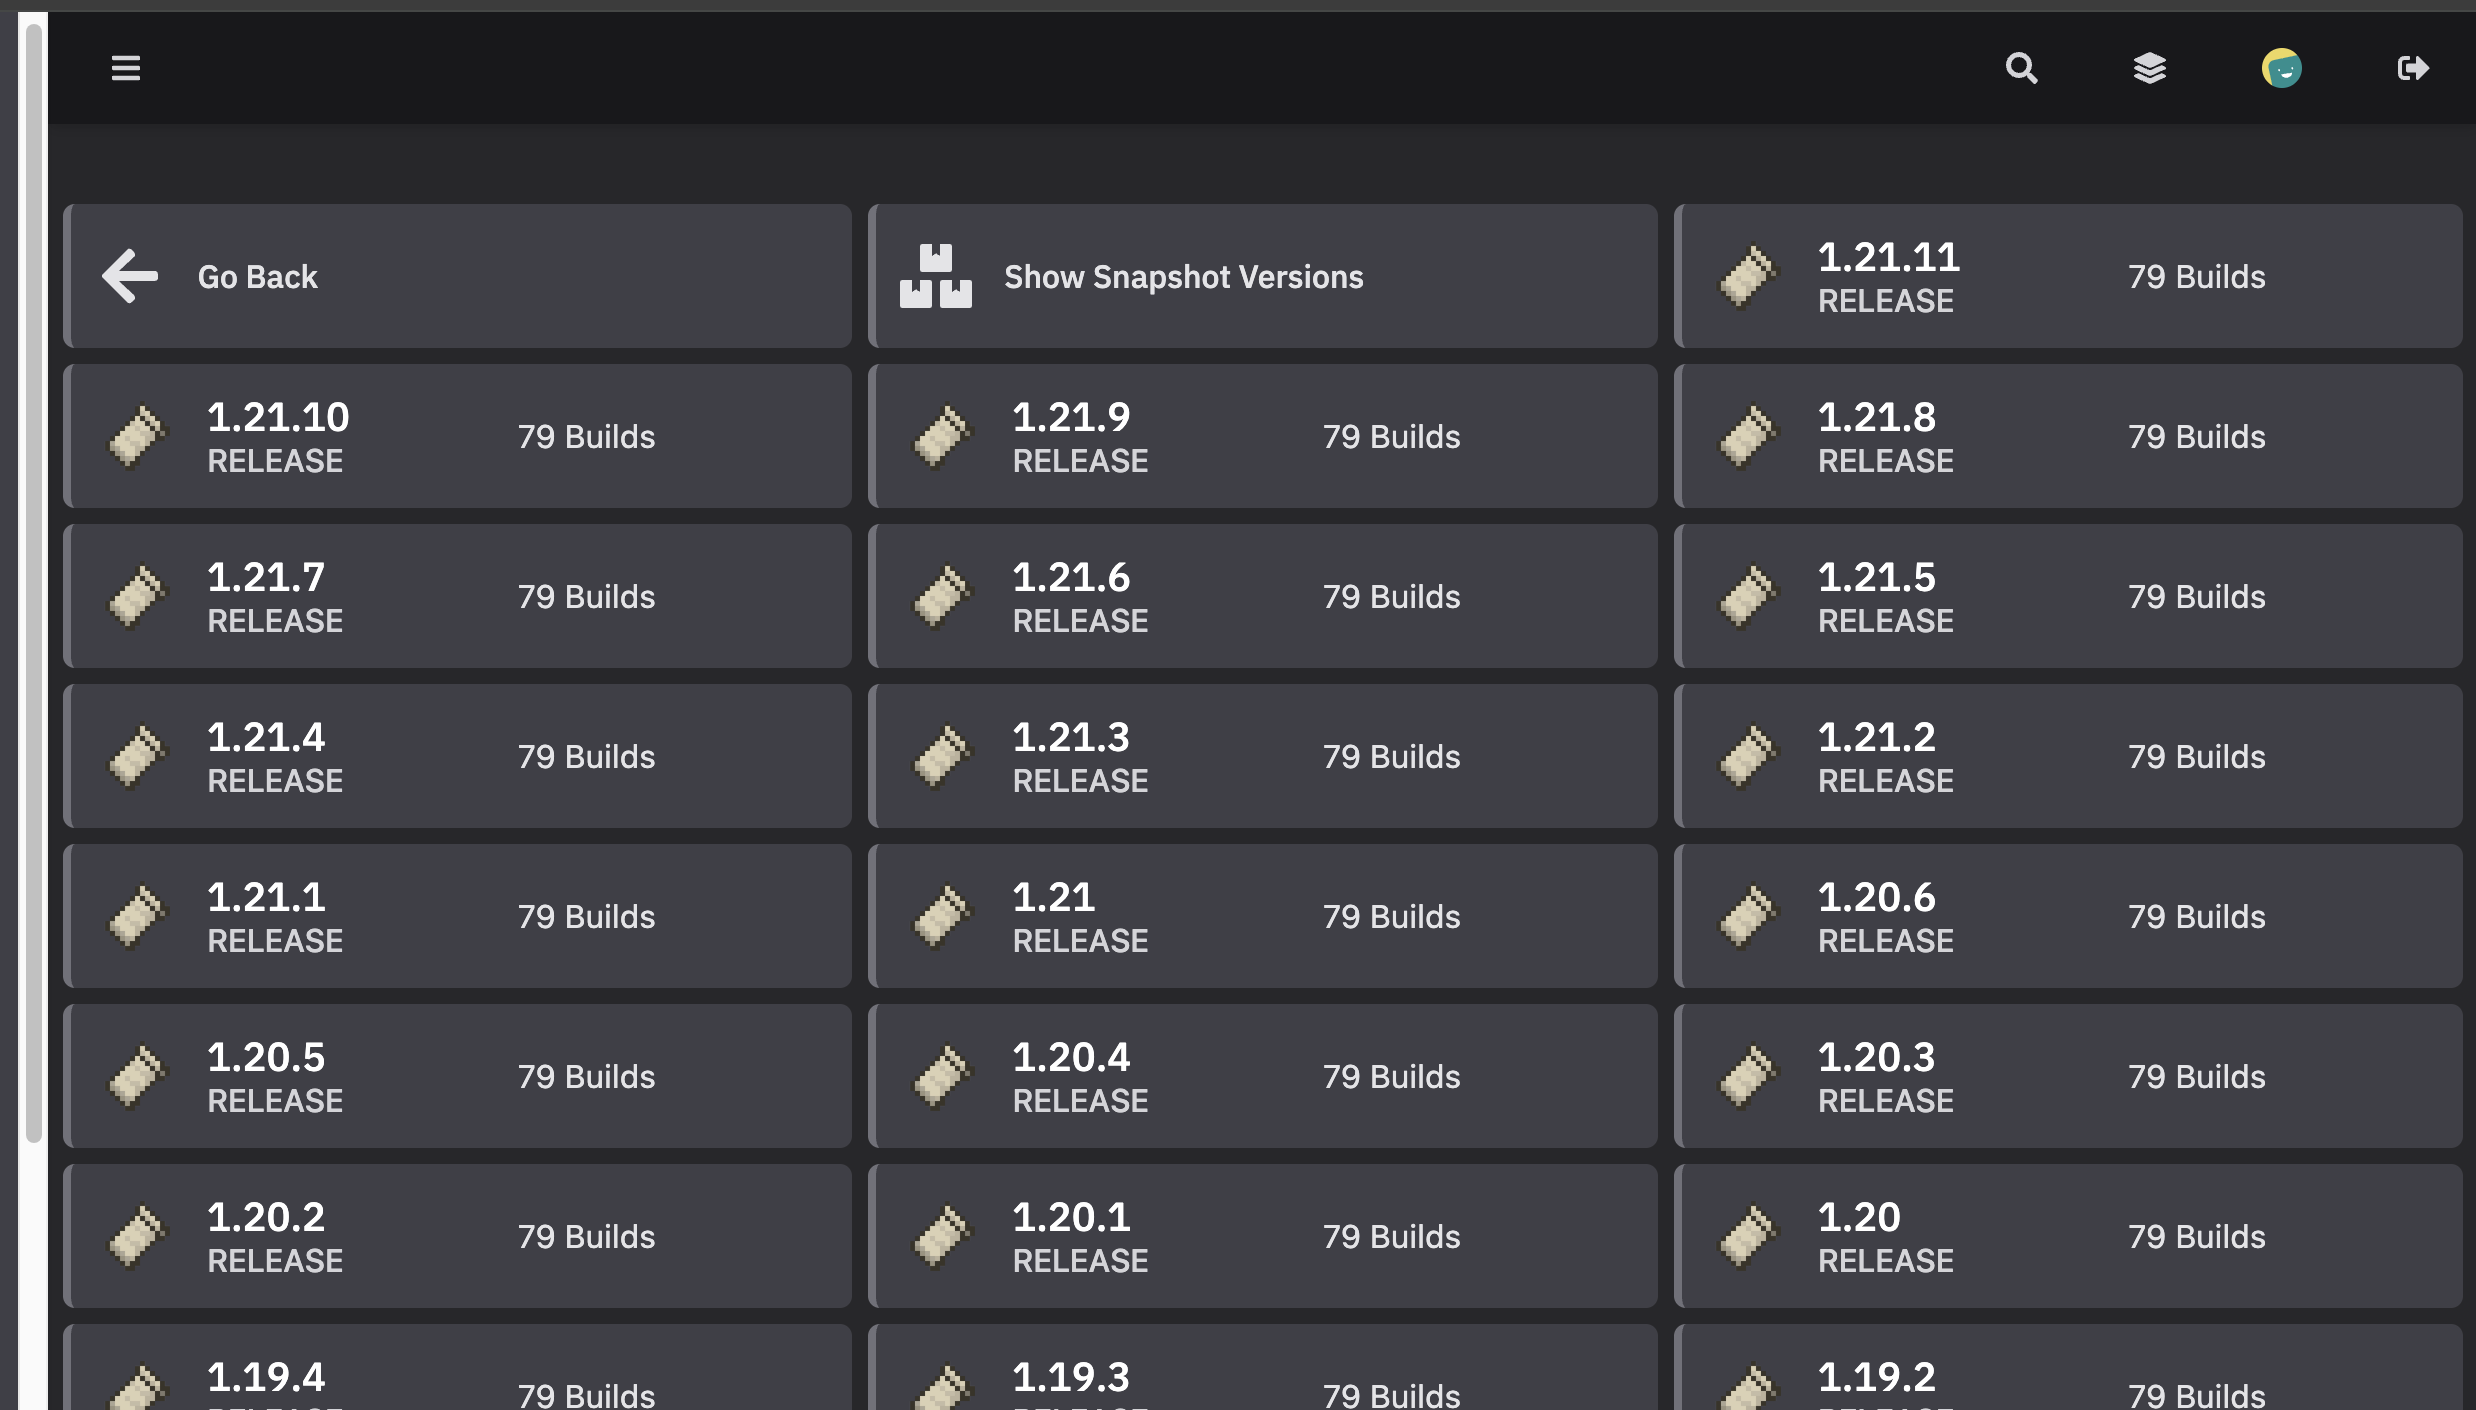
Now it's time to set up the mod loader. Click on "Software" and then select "Fabric". You'll need to choose the right Fabric loader version for your current version of Cobblemon. For Cobblemon 1.7, you should select version 1.21.1. If you're using a different version of Cobblemon, make sure to pick the corresponding Minecraft version that matches your mod.
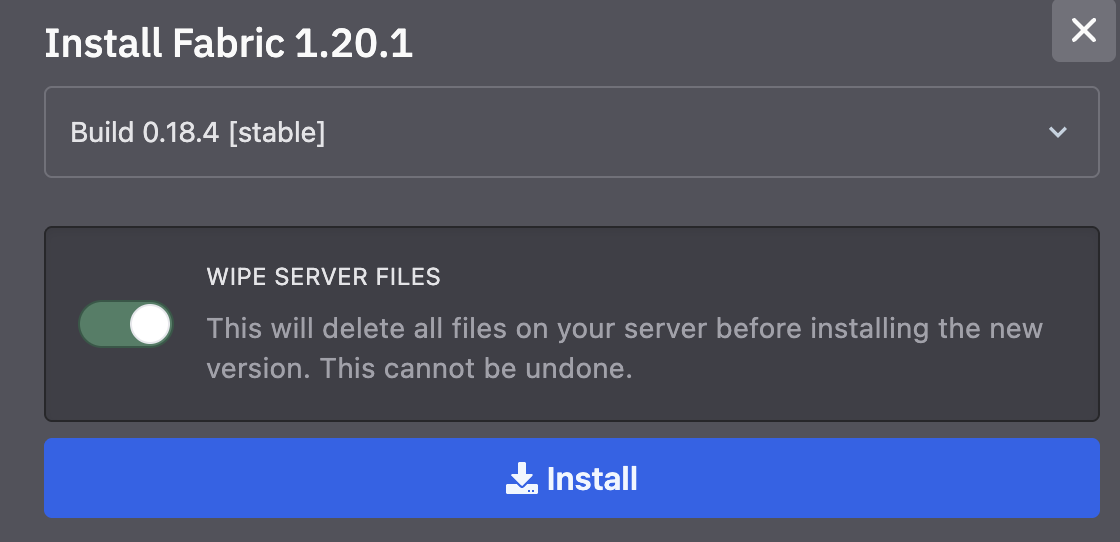
Step 6: Wipe and Install
Once you've selected your Fabric version, click "Wipe server files and install". This will clear out any default files and set up your server with the Fabric mod loader. This is an important step to ensure your server starts fresh and is ready for your mods.
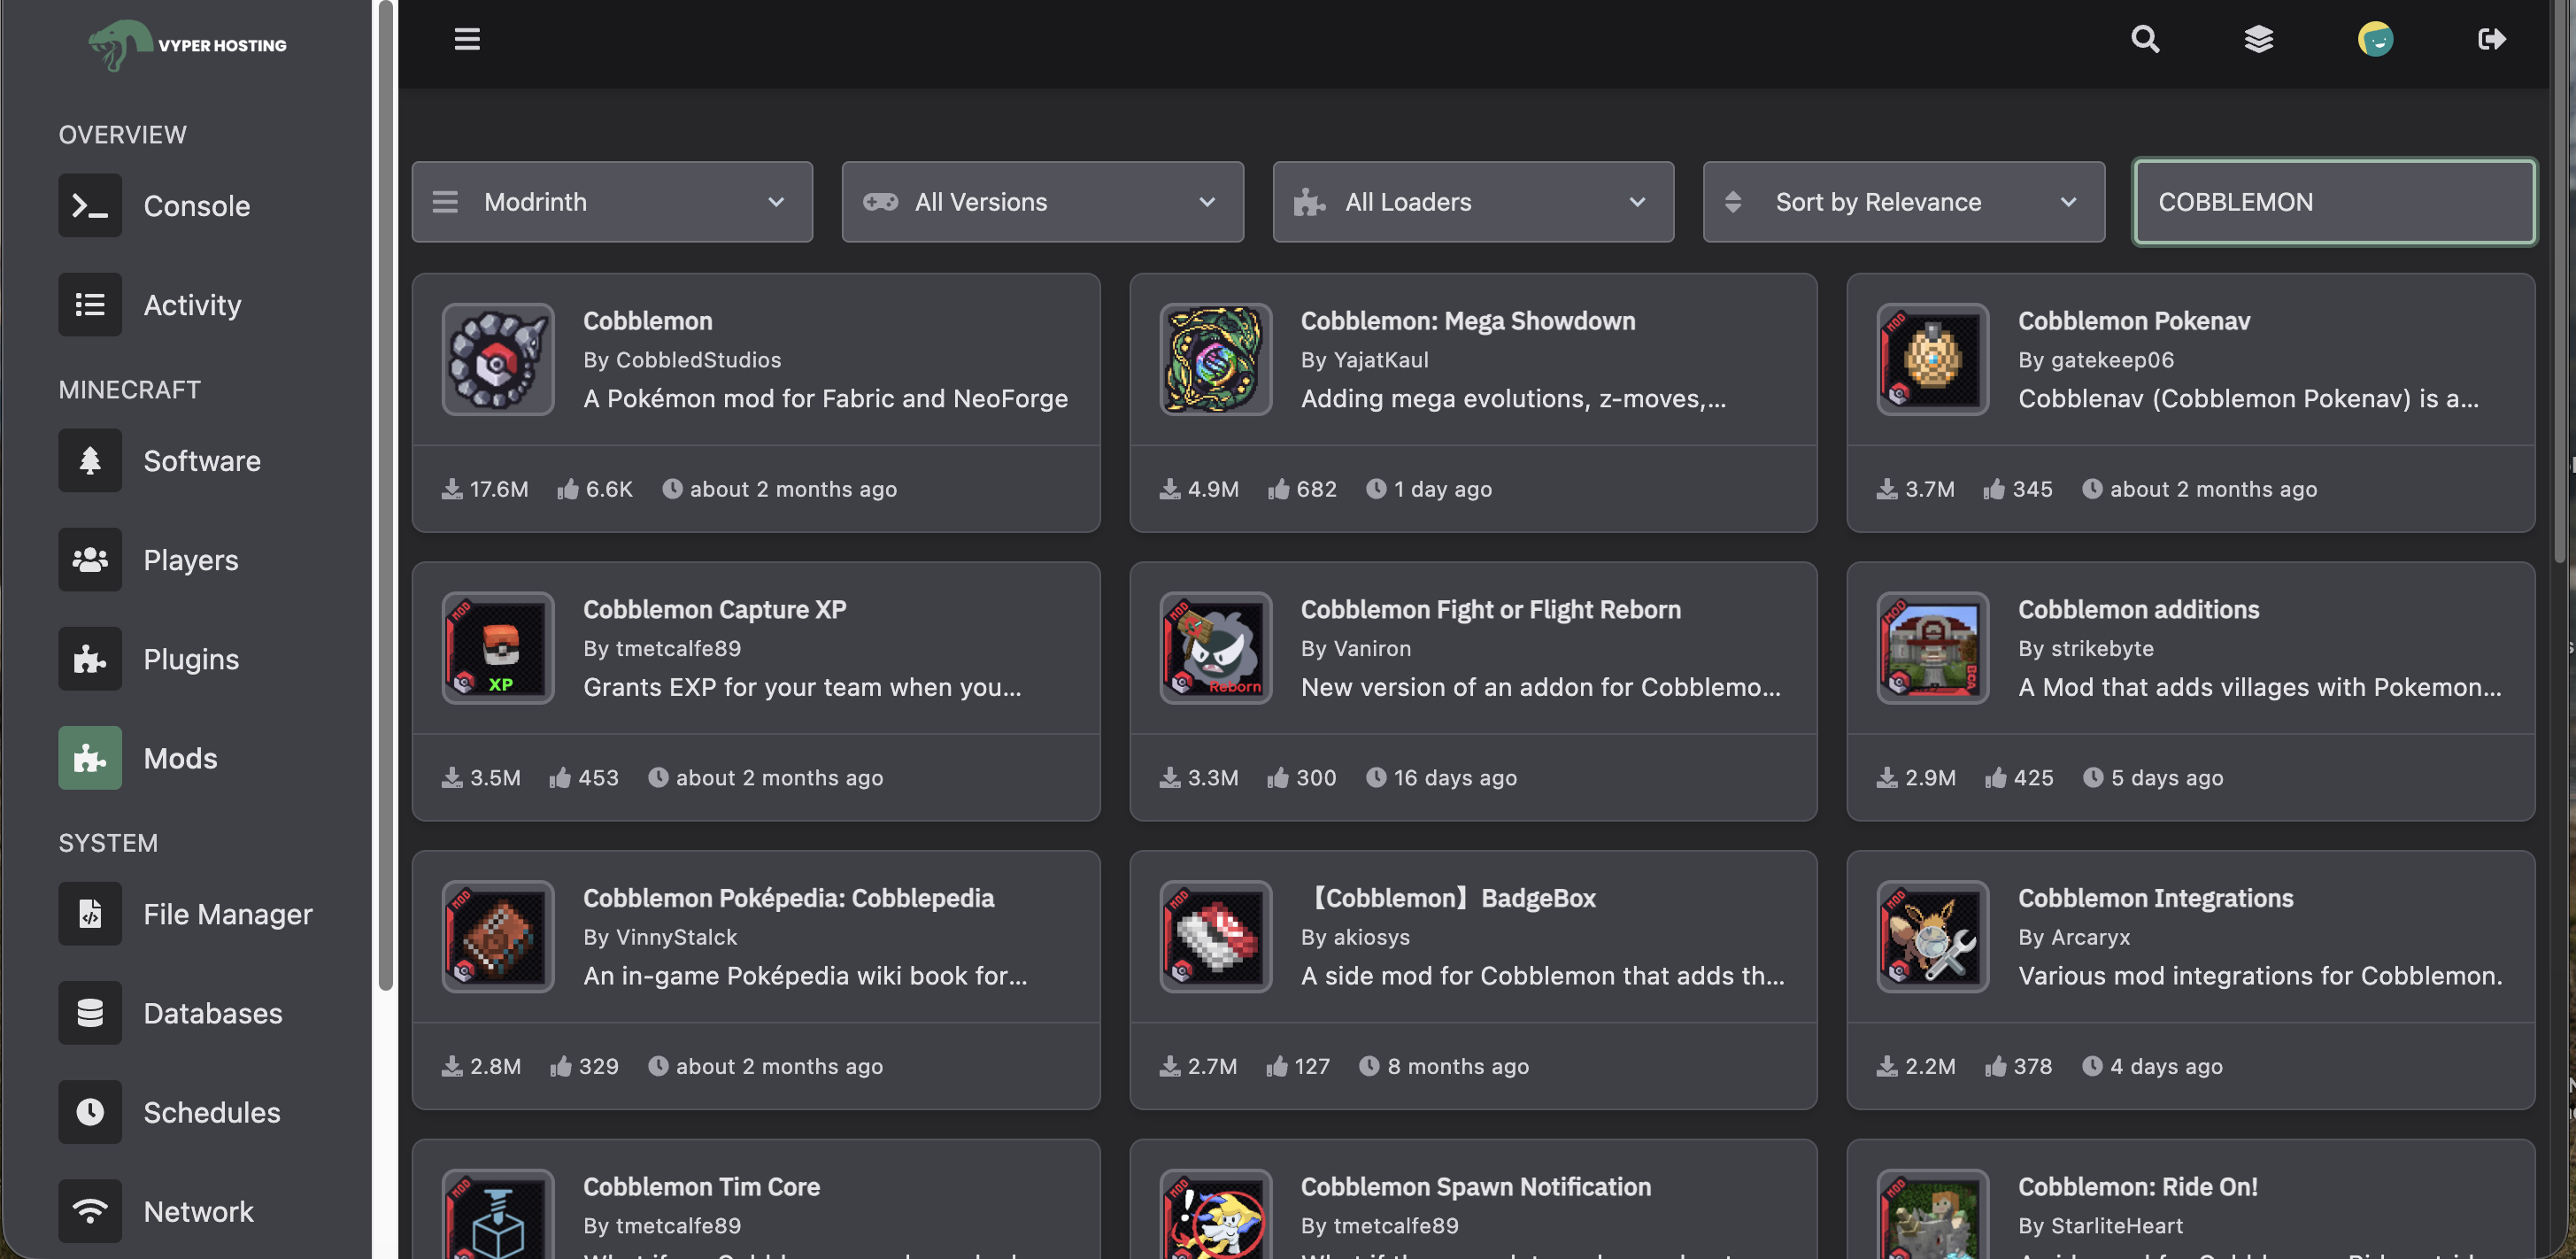
Step 7: Add Cobblemon and Your Mods
Now for the fun part—adding your mods! Click on "Mods" to add Cobblemon and any other mods you want to include on your server. This is where you can customize your server experience. Whether you want to add quality-of-life mods, additional Pokemon mods, or gameplay enhancements, this is where you'll upload them.
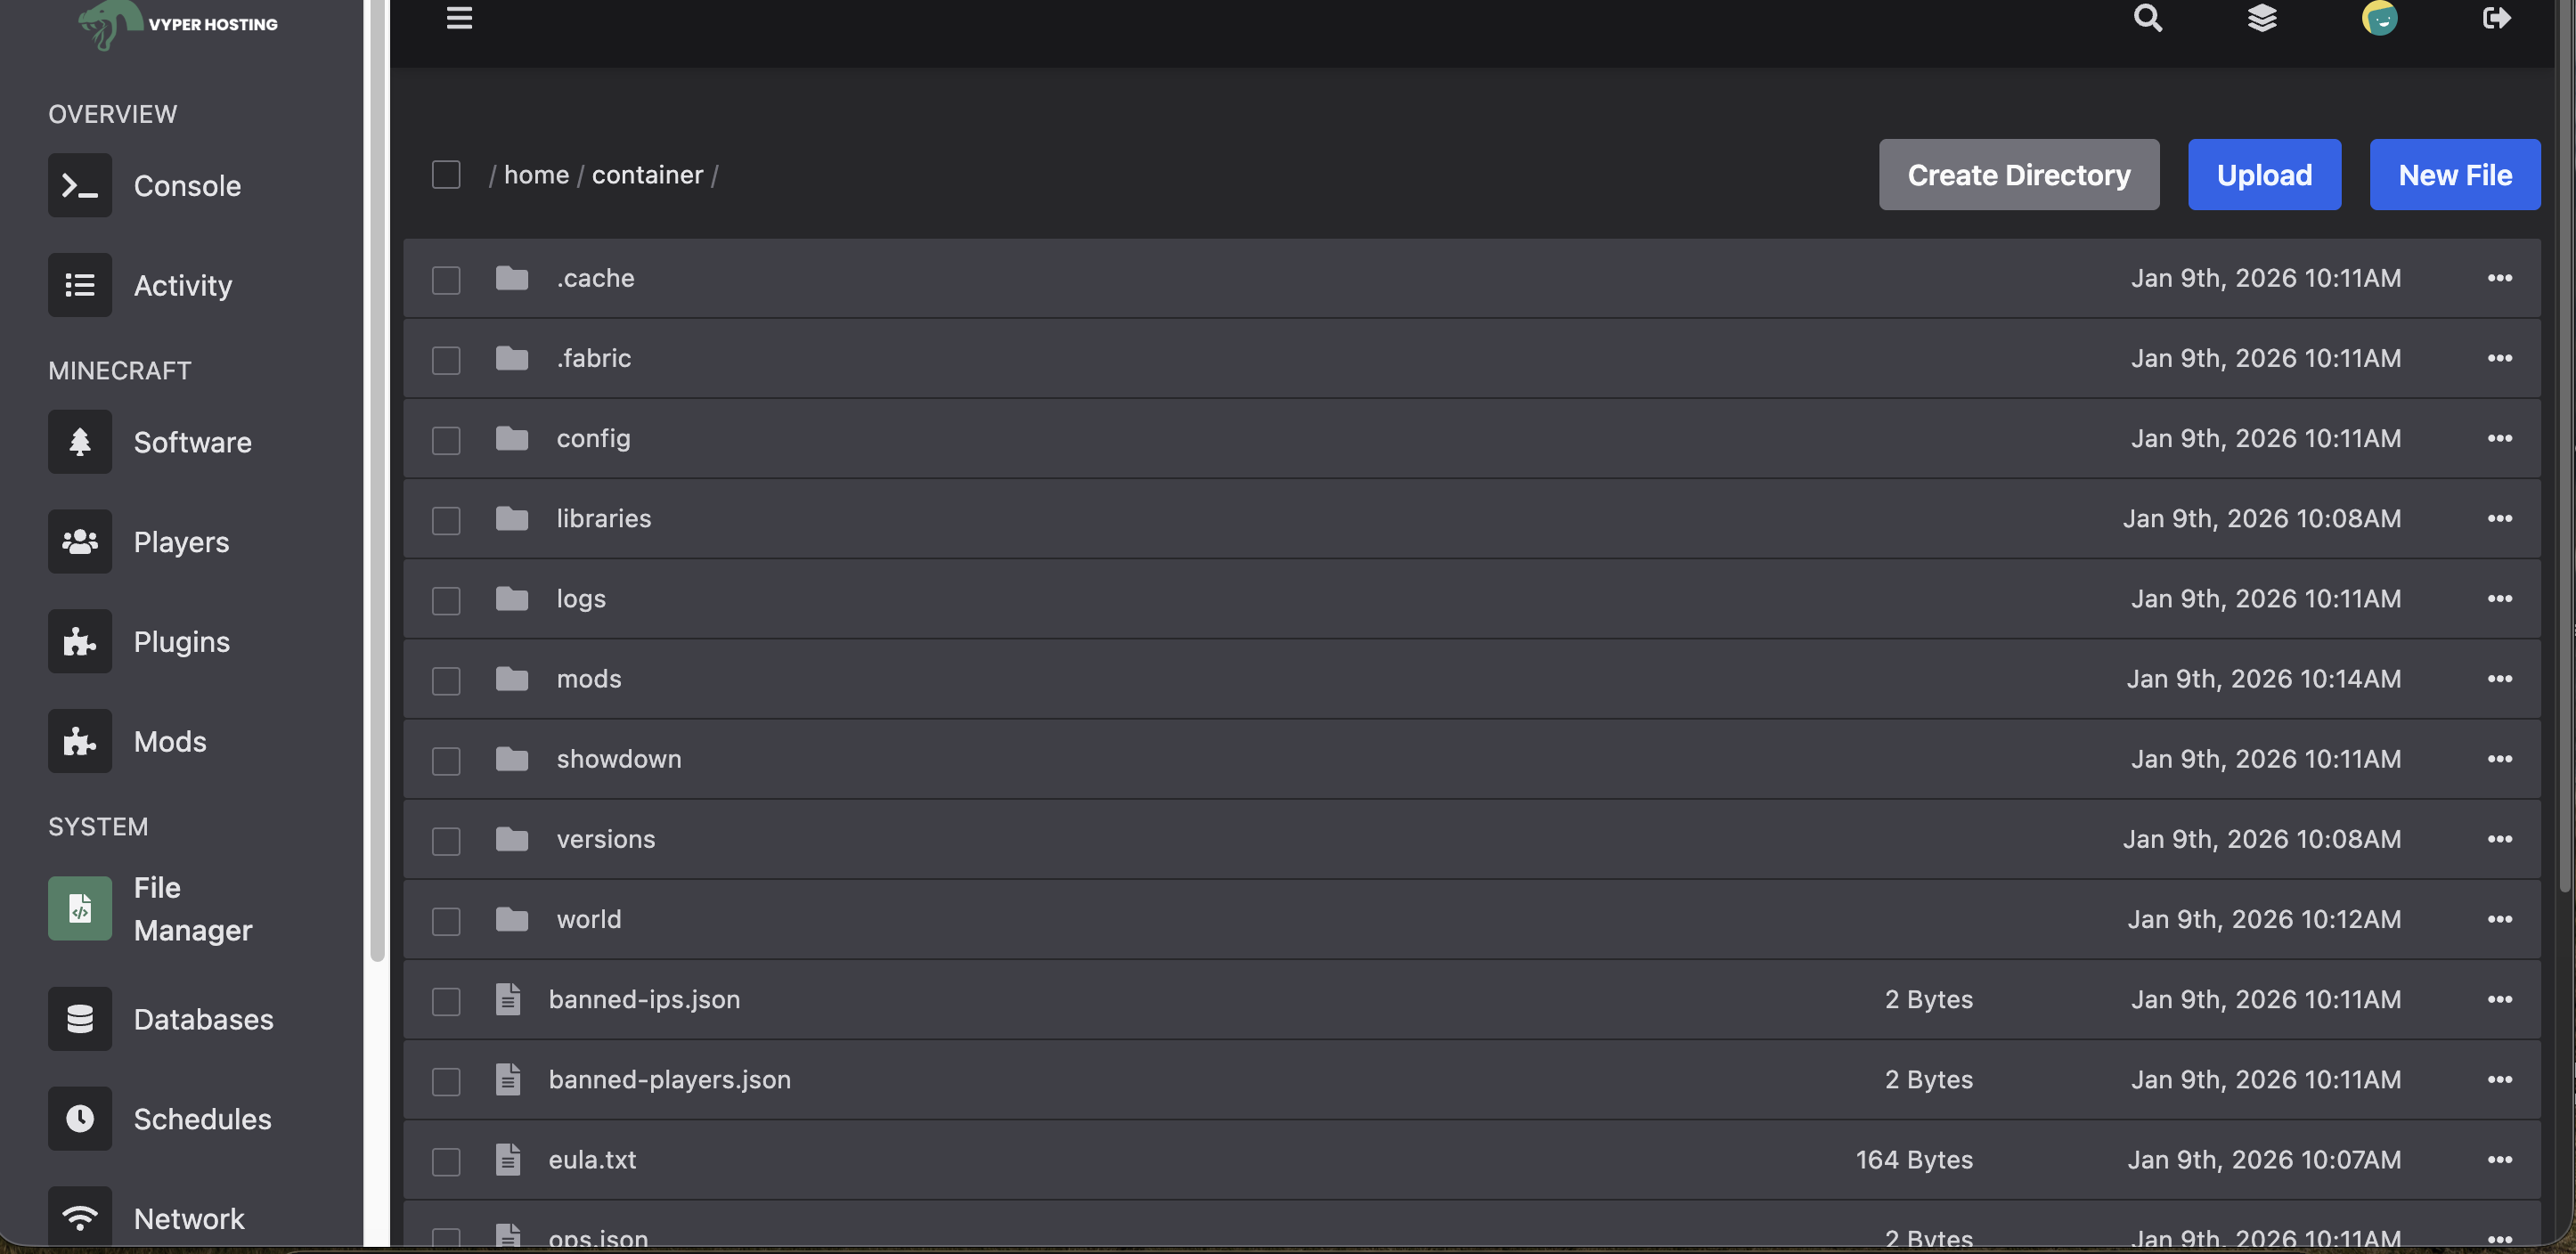
Step 8: Upload Files via File Manager (Optional)
If you have a lot of files to upload, you can also use the File Manager to upload files directly from your modpack. However, if you have many files, it might be easier to use a free service like FileZilla to transfer your files over. This is especially useful if you're setting up a large modpack with dozens of mods.
If you don't know how to use FileZilla, I've created a step-by-step tutorial video that walks you through the entire process. You can watch it here:
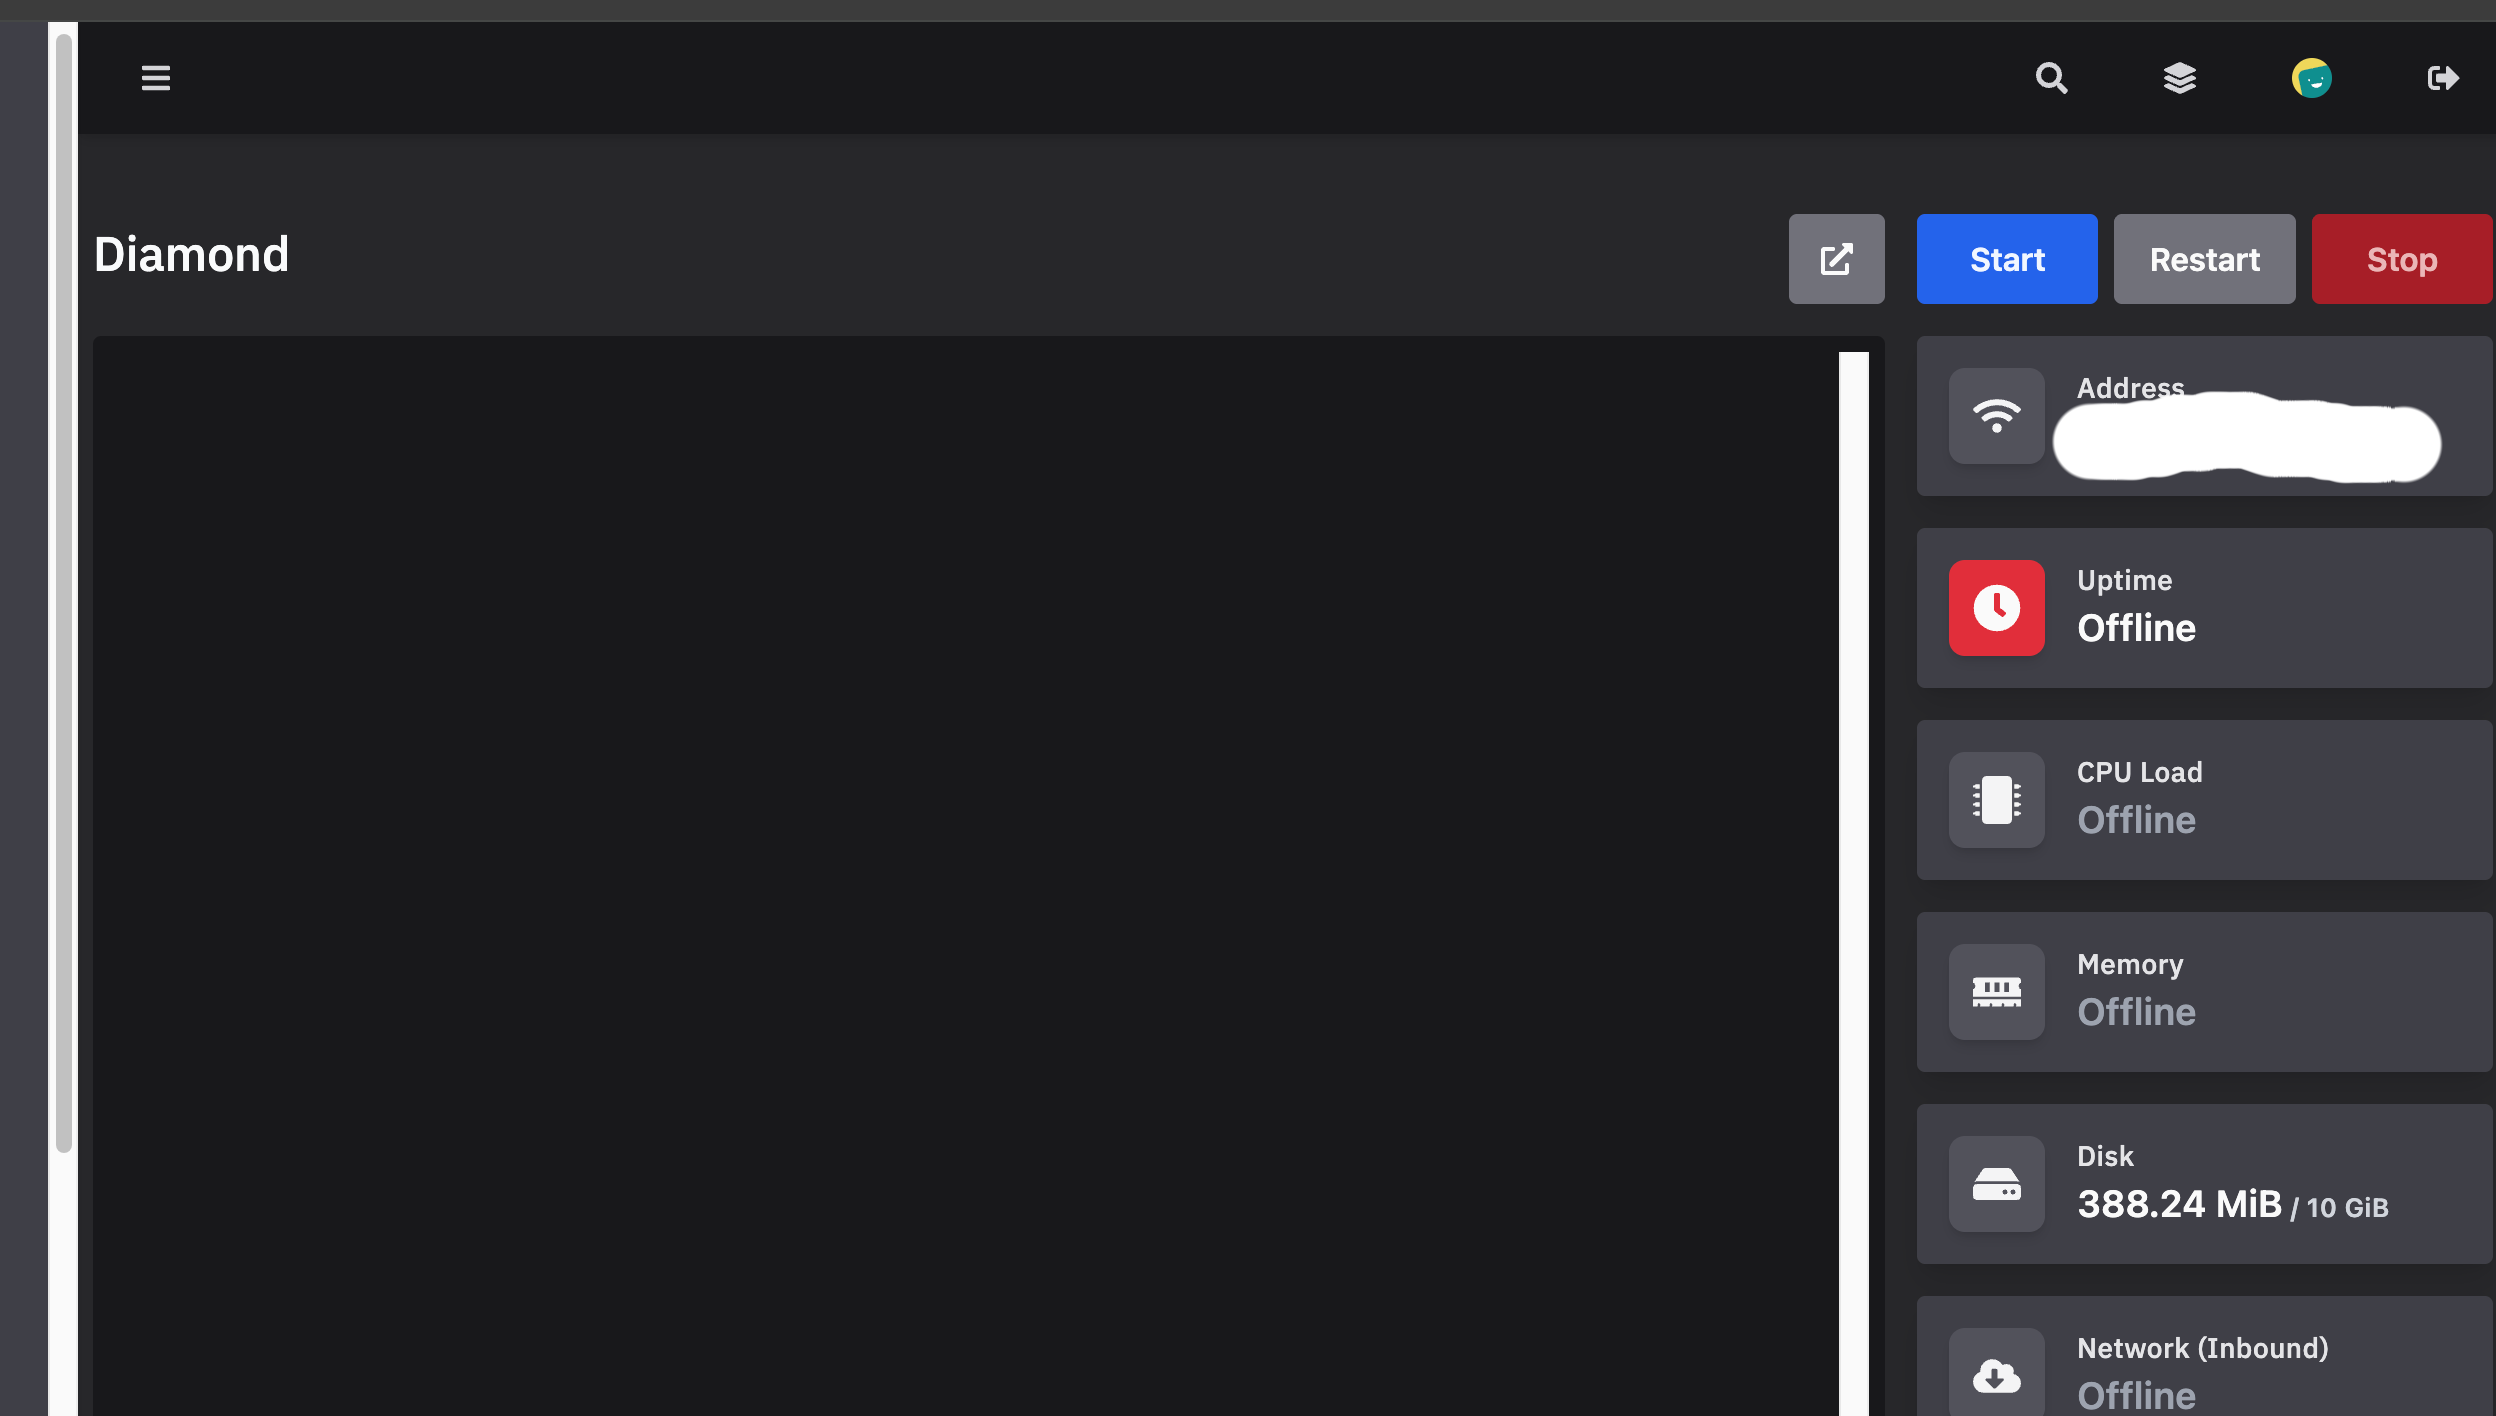
Step 9: Start Your Server
Once you've added all your mods, it's time to fire up your server! Click on "Console" and then click "Start" to start your server. You'll see the server logs appear in the console, and once it's fully loaded, you'll be ready to connect.
Step 10: Connect to Your Server
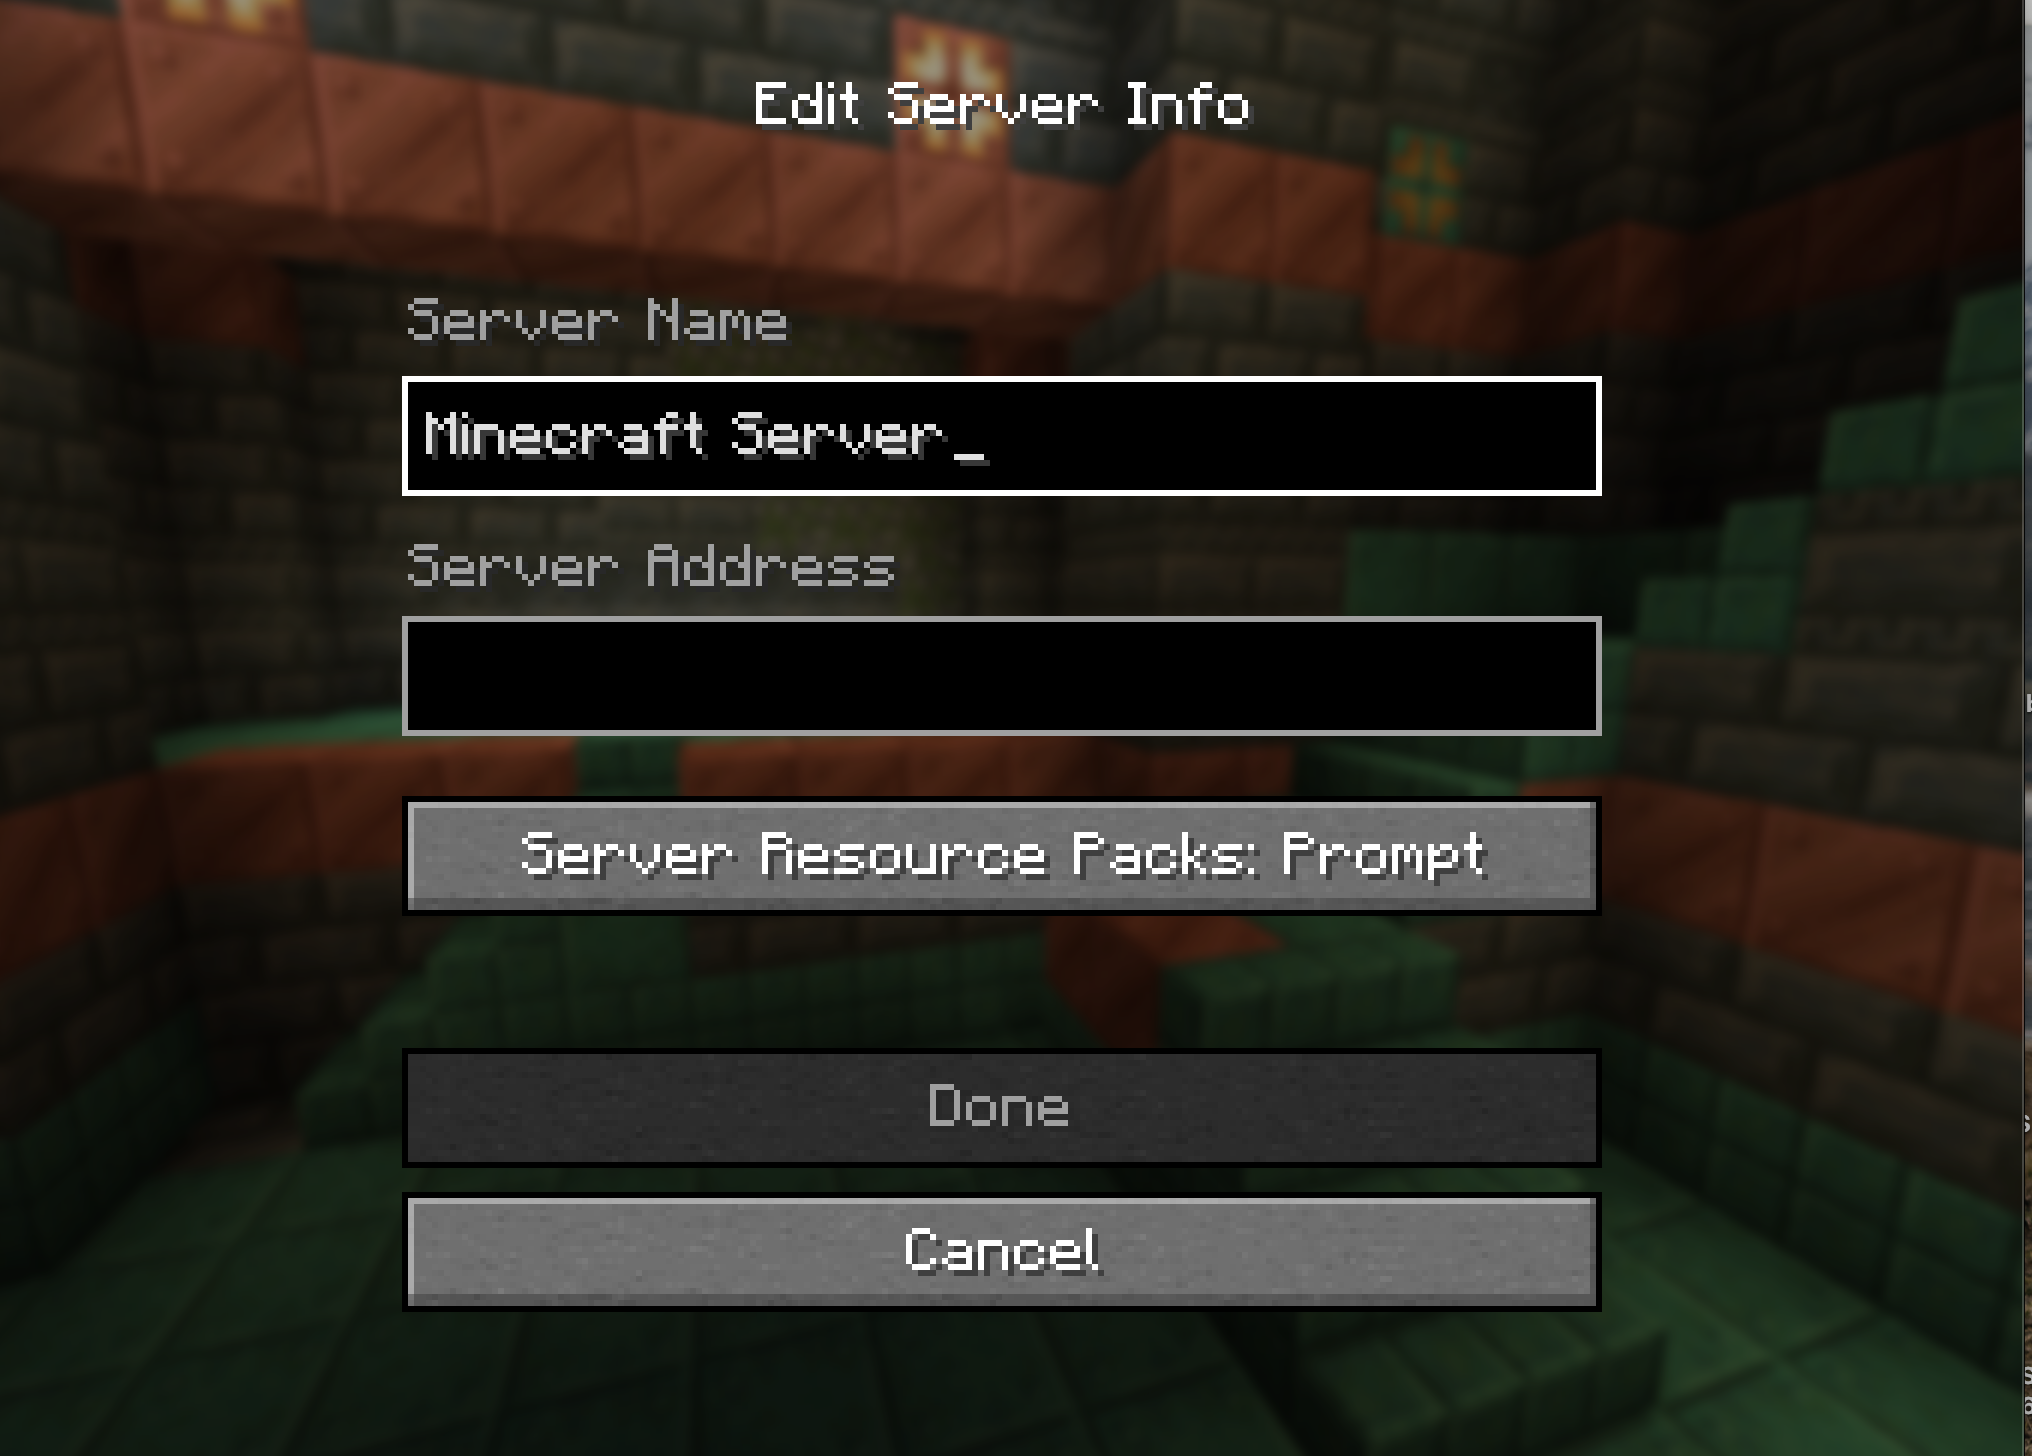
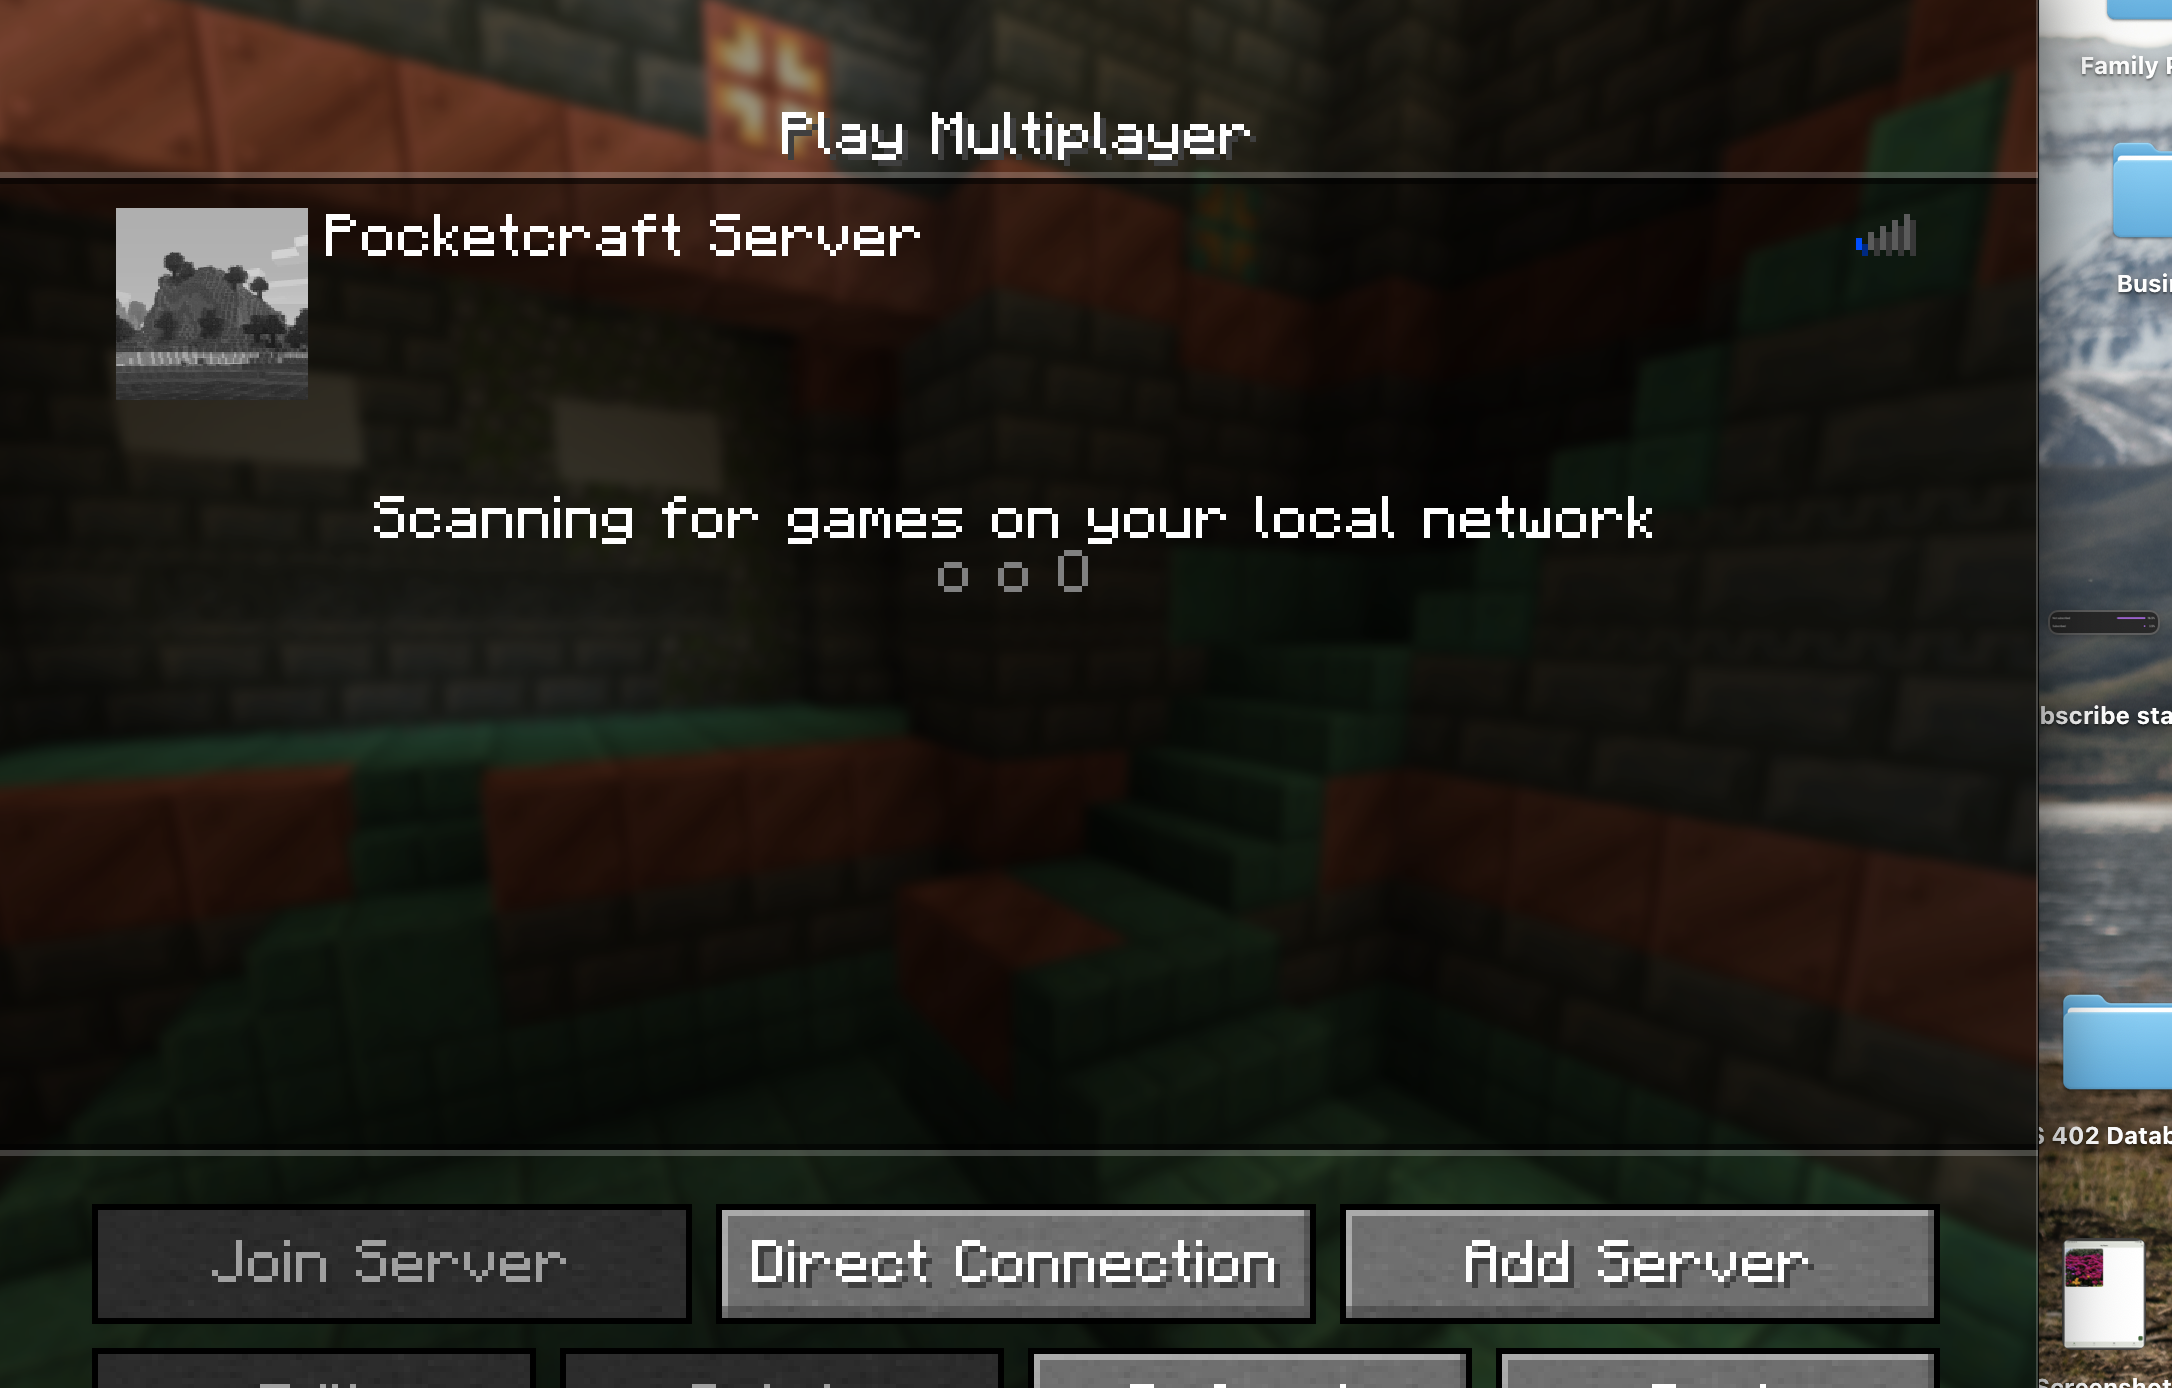
Now for the moment you've been waiting for—connecting to your server! Copy your IP address from the control panel, then open up Minecraft. Click on "Multiplayer" and then "Add Server". Name your server whatever you'd like (maybe something like "Our Cobblemon Adventure" or "Pokemon World"), and paste in your IP address.
Once you've added the server, you can send the IP address to your friends, and you can all play together! There's nothing quite like exploring the Cobblemon world with your friends, catching Pokemon together, and building your own Pokemon journey as a team.
You're All Set!
Congratulations! You've successfully set up your own Cobblemon server. Now you and your friends can enjoy playing Cobblemon together whenever you want. Remember to keep your server updated, and don't forget to back up your world regularly—you don't want to lose all that progress!
If you run into any issues during setup, most hosting providers offer excellent customer support. And if you're looking for more Cobblemon content, be sure to check out my other guides and tutorials!
More Cobblemon Tutorials
If you found this helpful, you'll enjoy my other tutorials found here on Cobblemon tips, tricks, and guides.
Channel Members Get Access To Exclusive Perks
Click here to help support the channel
Pokemon Mascot
Friends Across Platforms
Exclusive Videos
Affiliate Disclosure
This guide contains affiliate links to Vyper Hosting. This means that if you click on the link and make a purchase, I may receive a commission at no additional cost to you. I only recommend products and services that I personally use and believe will be valuable to my readers. The affiliate relationship helps support the creation of free content like this tutorial.
Your support through these affiliate links allows me to continue creating helpful guides and tutorials for the Cobblemon community. Thank you!